Welcome to the world of DASM! For students who want to learn!
|
LINKS |
Importing your own menu images. |
||
|
|
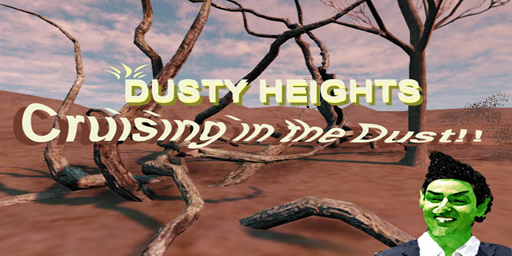
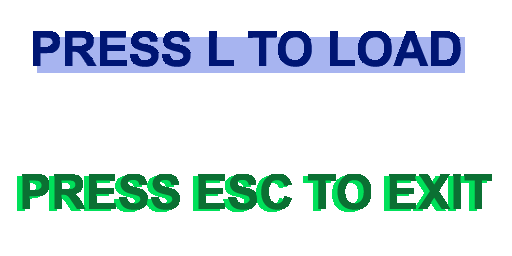
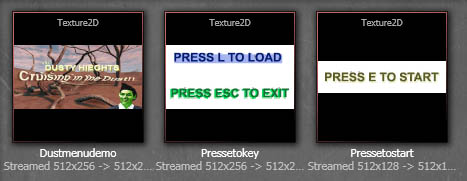
Your own images
|
|
"SOME" FILE SIZES IN PIXELS FOR UDK TO ACCEPT (2048x2048) (2048x1024) (2048x512) (2048x256) (2048x128) (1024x1024) (1024x512) (1024x256) (1024x128) (1024x64) (512x512) (512x256) (512x128) (512x64) (512x32)...... etc. If the image size in pixels is not within these parameters it will not import correctly.
|
STEP ONE
|

|
|
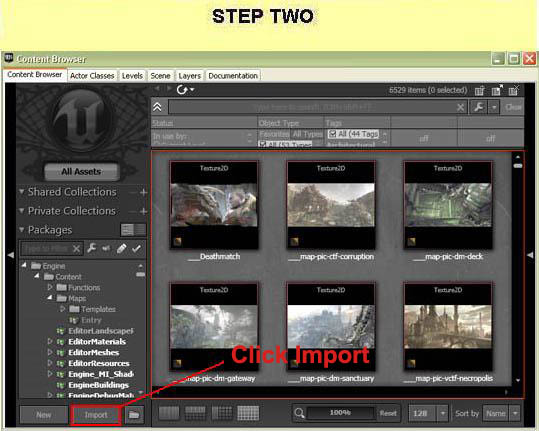
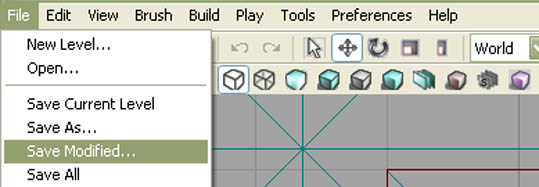
STEP TWO
|

|
|
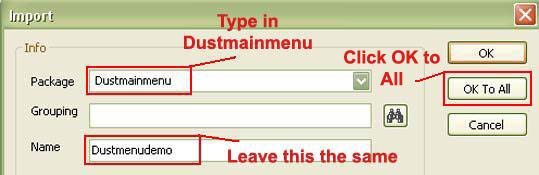
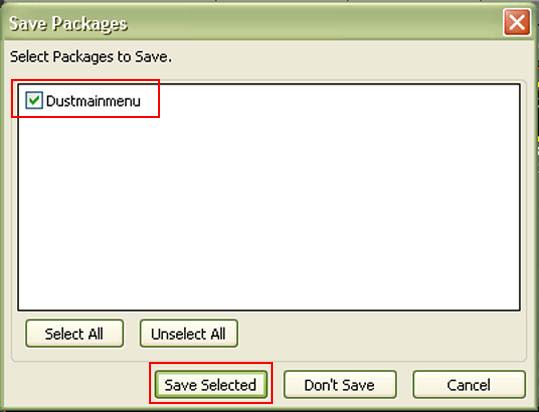
STEP THREE
|

|
|
STEP THREE
|
[Top]
______________________________________________________________________
All software packages created was used by the power of the Unreal Development Kit.
In game loading screens created by using BINK VIDEO. ______________________________________________________________________


Comments on this site to: feedback@worldofdasm.com
Date Modified: 04/01/2016
© World of DASM, and the DASM series, created by Shane Hillier
.
© 2013-2016 all rights reserved