Welcome to the world of DASM! For students who want to learn!
|
LINKS |
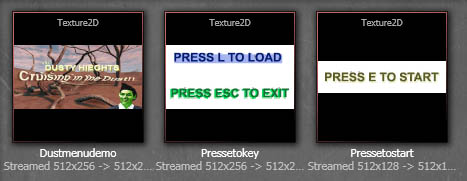
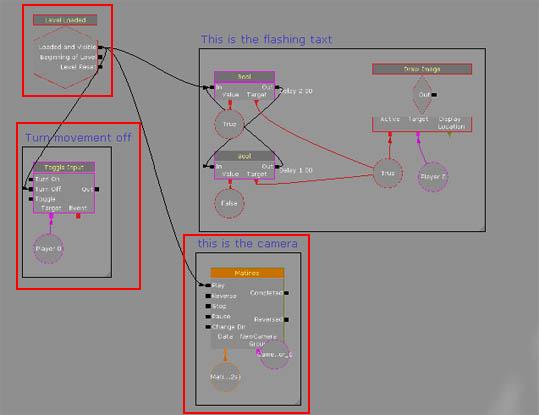
Building a menu. |
||
|
|
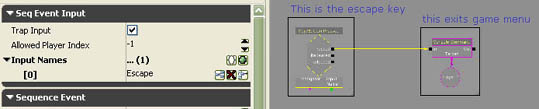
Your own keyboard menu
|
|
|
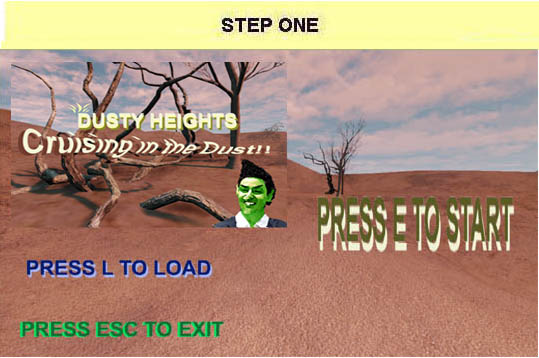
STEP ONE
|
|
|
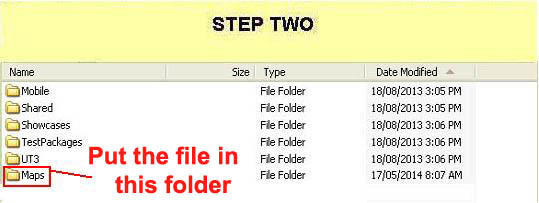
STEP TWO
|
|
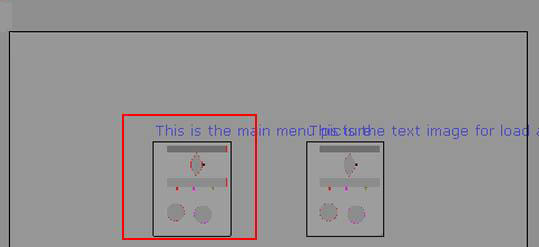
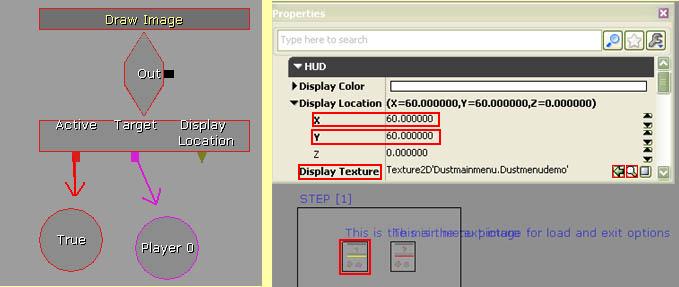
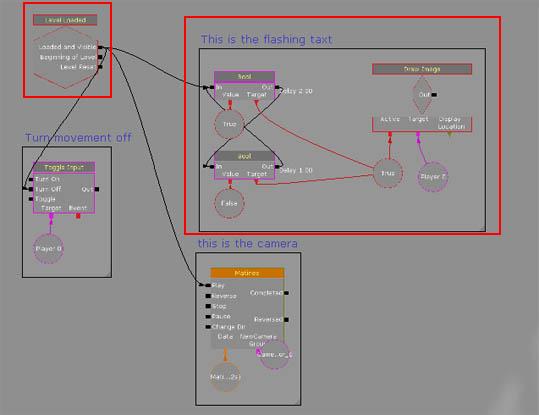
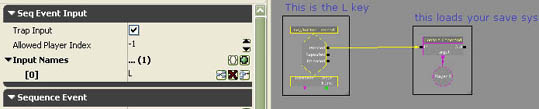
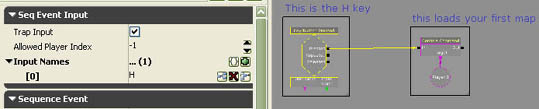
Hint* Like the image below, left, you need to left mouse click and drag the line to the "True" and release the mouse button. Do the "Player 0" link the same way.
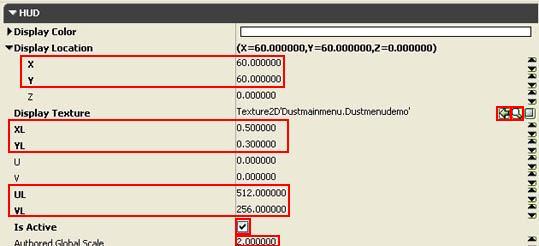
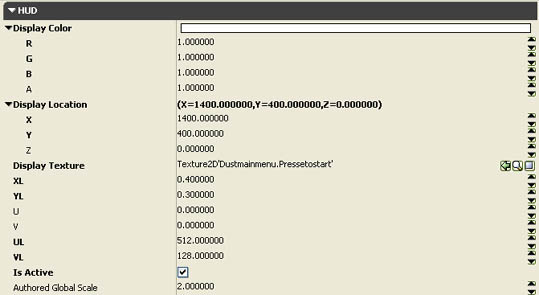
Now, if we select "Play from Here" when the map starts the image Dustmenudemo will be 60 right and 60 down from the corner of the screen. |
STEP THREE
|
|
|
STEP FOUR
|

|
|
STEP FIVE
|

|
|
STEP SIX
|

[Top]
______________________________________________________________________
All software packages created was used by the power of the Unreal Development Kit.
In game loading screens created by using BINK VIDEO. ______________________________________________________________________


Comments on this site to: feedback@worldofdasm.com
Date Modified: 04/01/2016
© World of DASM, and the DASM series, created by Shane Hillier
.
© 2013-2016 all rights reserved